
In parts 1 and 2, I’ve setup the Citrix database and performed a backup and restore in order to support database mirroring for redundancy in the Citrix environment. In this post, I’ll setup SQL database mirroring.
When setting up database mirroring, you have the potential to specify (3) SQL servers:
- Principal Server – MANDATORY – Server on which the database is currently in production (read-write)
- Mirror Server – MANDATORY – Server on which the database is currently read-only
- Witness Server – OPTIONAL – a SQL instance that monitors the servers and performs automatic failover should the principal server become unavailable. A witness server, which can run SQL Express, is required to support automatic failover of the database.
Though I won’t recommend it, in my lab, I had the following setup and had no problems establishing the database mirror:
- SQL Server 2012 SP2 running on my Principal and Mirror servers
- SQL Express 2008R2 running on my Witness server
To setup SQL Database Mirroring
1. On the Principal server, open SQL Server Management Studio and expand Databases. Right-click CitrixDB and select Tasks | Mirror

2. On the Database Properties | Mirroring screen, click Configure Security.

3. On the Configure Database Mirroring Security Wizard screen, click Next.
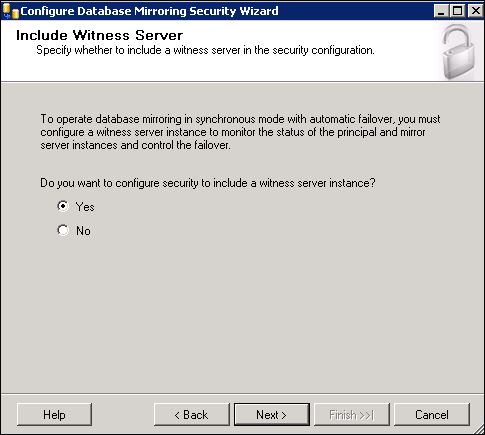
4. On the Include Witness Server screen, click Yes and click Next.
5. On the Choose Servers to Configure screen, select Witness server instance and click Next.

6. On the Principal Server Instance screen, the principal server should be filled out correctly so click Next.

7. On the Mirror Server Instance screen, Connect to the appropriate mirror server instance and click Next.

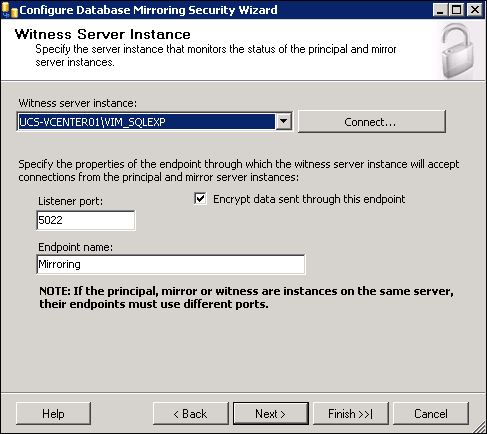
8. On the Witness Server Instance screen, Connect to the appropriate witness server instance and click Next.
9. On the Service Accounts screen, enter the appropriate domain level account for all services and click Next. The accounts should be the same for all servers….and though I used the administrator account here, I wouldn’t recommend it in full production.

10. On the Complete the Wizard screen, click Finish.

11. Once the endpoints have been successfully configured, click Close.

12. On the Database Properties pop-up, click Start Mirroring.

13. When returned to the Database Properties | Mirroring screen, ensure the database Status reads Synchronized: the databases are fully synchronized and click OK.

14. The success of the mirroring operation can be further verified in SQL Server Management Studio as shown below:

At this point, the database is mirrored. The next post, the final one of this series, will detail the setup of the first Citrix XA/XD delivery controller.
