The next step in upgrading from ESX 3.5 to vSphere is to install the vSphere client. Luckily, this task is pretty straightforward and we’ll be done soon.
1. On the vCenter Server AutoRun screen, click vSphere Client.
2. Click Next on the Welcome to the vSphere Client install window.
3. Accept the License Agreement and click Next.
4. On the Custom Setup screen, select the option to Install vSphere Host Update Utility 4.0 and click Next. This utility will be used later to upgrade the ESX servers to vSphere.

5. On the Ready to Install the Program screen, click Install.
6. Click Finish when the installation completes.
7. Launch and login to the vSphere client

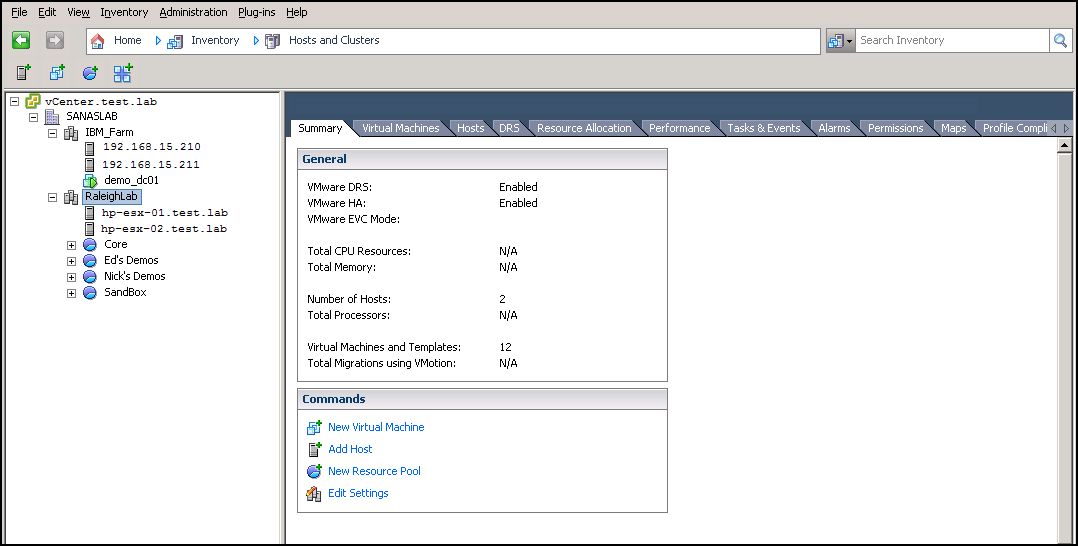
8. The initial vCenter configuration screen is shown below:

9. Click Hosts and Clusters to verify you can indeed manage your ESX environment.