
XenCenter is the Windows utility used to manage XenServer hosts, resource pools, and virtual machines. An administrator will use XenCenter to create resource pools, configure High Availability, Storage, and Networking, perform live VM migrations (XenMotion), and track performance data.
Unlike other management consoles, no backend database server is required as XenCenter distributes management data across XenServers in a resource pool. This is referred to as the Clustered Management Layer and it ensures there is no single point of management failure.
XenCenter also displays real-time status (last 10 minutes) of and can provide performance trending (up to 1 year) of the following attributes:
CPU Usage
Memory Usage
Disk I/O
Network I/O
XenCenter can only be installed on Windows Server 2003, Windows XP Service Pack 2+, and Windows Vista.
To install XenCenter, quite simply double-click the installation file XenCenter.msi and click Next | Next | Install | Finish. There’s not much to it.
To configure XenCenter to manage a XenServer:
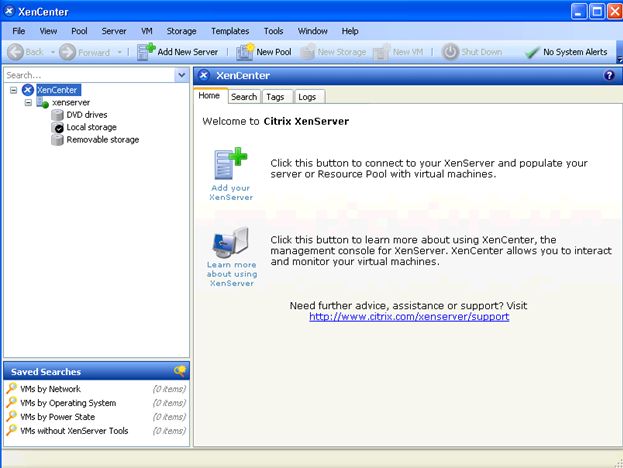
1. Go to Start | All Programs | XenCenter 5.0
2. Click Add your XenServer in the right pane on the Home tab.

3. The Add New Server dialog box appears, prompting for a XenServer Server to connect to. Enter the appropriate XenServer settings and click Connect.

4. XenCenter connects to the specified XenServer, which appears as the first object on the file tree in the left pane of the application window.
NOTE: By default, XenCenter allows saving of usernames and passwords. To disable this, use the registry Editor, navigate to the key:
HKEY_CURRENT_USER\Software\Citrix\XenCenter
Add a key named AllowCredentialSave with the string value false. This will cause XenCenter to no longer save usernames or passwords, and disables the Save and Restore Connection State dialog box in XenCenter (Tools -> Save and Restore).

I can't seem to find the key HKEY_CURRENT_USER\Software\Citrix\XenCenter with Xencenter 5.0 intsalled. Does this tip actually work?