
A few years into my career, I wanted nothing more than to be out of desktop support. When I started in computers, I didn’t know much of anything so I started with the basics, simply building “white boxes”, then I moved to troubleshooting home PCs, then to a warranty repair center where I got to take apart computers, printers, and laptops to replace defective parts and then I moved to a desktop support position at a major call center with approximately 3000 computers and got my first taste of business IT support. I worked on imaging new PCs, installing more apps, trouble tickets, help desk, etc, etc, the basics really and it was fun for about 18 months when I thought “Servers, that’s what I want to do next…those folks make the big bucks”. So, about 10 years ago, I was fortunate enough to be placed in a position supporting servers and have been doing so ever since. But here lately, it seems I’ve been working more with applications and desktops again but it’s been fun returning to my “roots” so to speak.
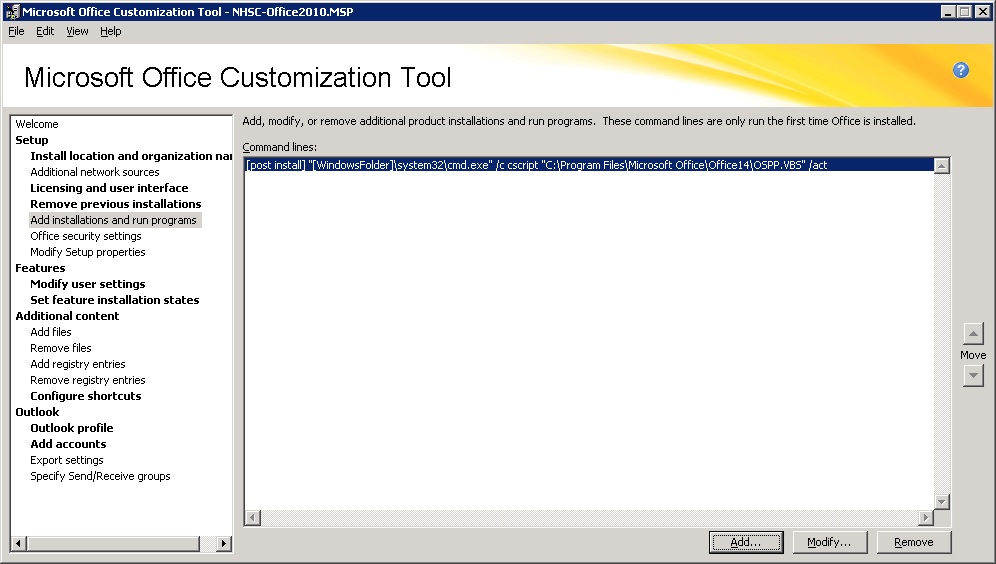
This past week, I was working on customizing an upgrade of Office from 2003 to 2010 using the Office 2010 Customization Tool (OCT). The OCT is part of the Office Setup program and is the recommended tool should Office customizations be required as it allows you to control or customize seemingly every aspect of an Office installation/upgrade.
To launch the Microsoft Office Customization Tool, execute the command setup.exe /admin from the “root” of the Office 2010 CD. This can be done in VMs using ISOs, network paths, or mapped drives.

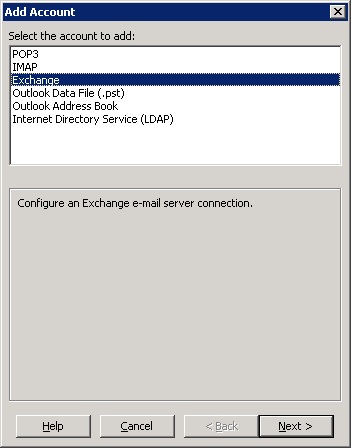
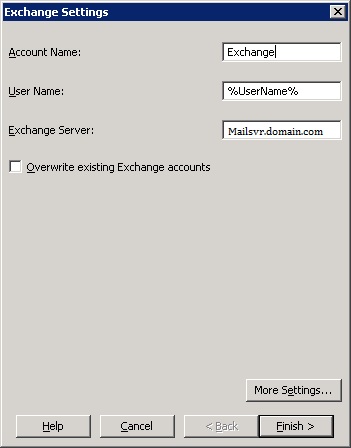
As you explore the Modify User Settings section, you’ll see there are hundreds of configuration changes you can make. I wanted to have Outlook 2010 open right to the users mailbox so I configured the following Outlook settings:


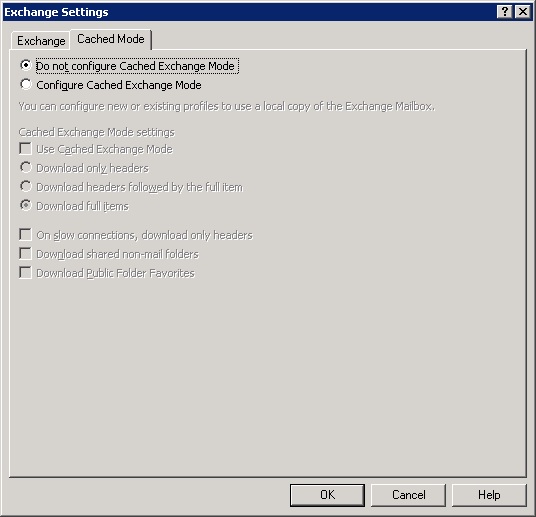
Select the cached mode option applicable to your environment. In this case, I was upgrading Office on XenApp servers and did not want to enable it.

Once you are done with your customizations, click File | Save As and save your MSP file. If you have your Office 2010 installation files on the network, I would copy the MSP file to that location. I read that if you copy the MSP file to the Updates folder in the Office 2010 root directory, that setup will use it automatically but I did not test that functionality.
Anyway, to run setup with the new OST file manually, enter the command: setup.exe /adminfile \\server\share\FileName.msp. I copied my MSP to the Office 2010 root directory so all I had to do was enter setup.exe /adminfile Office2010.msp.
Depending on how the options are setup in the MSP, you can make the install completely hidden, or somewhat interactive. At least initially, I like to see that it’s working so I had it pop-up the Choose the installation you want and the Complete your office experience dialogs boxes come up. It removed Office 2003 as expected and asked me to reboot to complete the install. Once back up, Office 2010 was there, Outlook opened to my mailbox, and I did not see the Office 2010 introductory pop-ups, however, it did prompt me to activate office. I didn’t want that to happen either and to get around that, I followed the instructions found here:
http://www.migee.com/2010/12/08/office-2010-completely-silent-install-a-really-really-quick-rundown/


After overwrote my existing MSP file and on subsequent installations, I was not prompted to activate when I launched Outlook.
Finally, you can apply an new MSP to an existing installation by running the command: msiexec /p \\server\share\Office2010.msp, but that this must be executed directly from the machine you wish to update.
I’m not sure how many times I’ll have to install Office 2010, but I’ll be using the OCT whenever I do.
