
Recently, I had the pleasure of packaging Office 2010 using ThinApp 4.6.1. I used a 32-bit Windows XP Service Pack 3 VM to package Office 2010 to deploy to 64-bit Windows 7 virtual desktop using VMware View 4.6.
A great VMware knowledge base article on ThinApp and Office 2010 can be found here.
In this example, a KMS server was used for Office activation and Outlook 2010 was not a part of this package. My virtual machines were hosted on ESXi 4.1 Update 1 servers.
When creating an Office 2010 package, it is important to remember the following:
• Microsoft Office 2010 cannot be virtualized with ThinApp 4.5 or earlier
• The use of ThinApp 4.6 is not recommended. Use ThinApp 4.6.1!!
• Capturing Office 2010 on a 64-bit operating system is unsupported. When capturing Office 2010, you must use a 32-bit operating system.
• When capturing Office 2010, ensure that it is not activated. If using a KMS license, disconnect the capture machine from the network.
• It is recommended that you stop the Office Software Protection Platform service prior to the Postscan process.
1. Since the capture machine must be disconnected from the network, copy the Microsoft Office 2010 installation files to the ThinApp packager VM.
2. Disconnect the capture machine from the network to keep KMS from activating Office during the capture process by unchecking the NICs Connected status in the VM properties. Ensure the network is disconnected by performing a ping test.
3. If using KMS to activate Office, browse to the location in which the Office 2010 installation files were copied, edit the config.xml information to include KMS server data to enable auto-activation.

4. If necessary, revert your capture machine to the Clean State snapshot. Login locally and start the ThinApp Setup Capture build process. On the Setup Capture – Welcome screen, click Next.
5. On the Setup Capture – Ready to Prescan screen, click Next.
6. Minimize the Setup Capture – Install Application screen when it appears and install the application you wish to package.
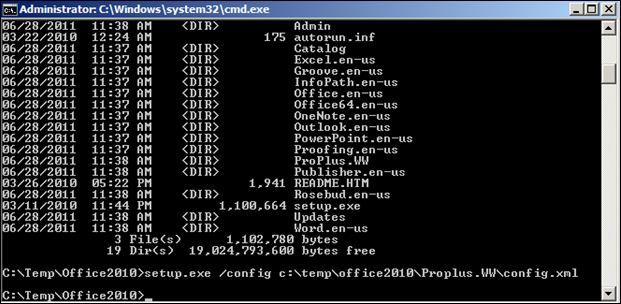
7. To use the customized config.xml file, enter the following in the command prompt:
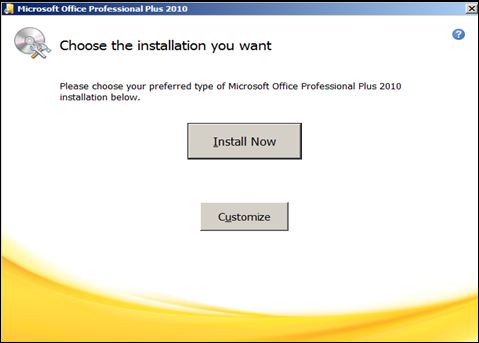
8. Accept the Microsoft Office 2010 license agreement and click Continue.
9. Though an answer file has been used, you can further customize Office 2010 should that be required. Click the Customize button to view the Office 2010 installation options.
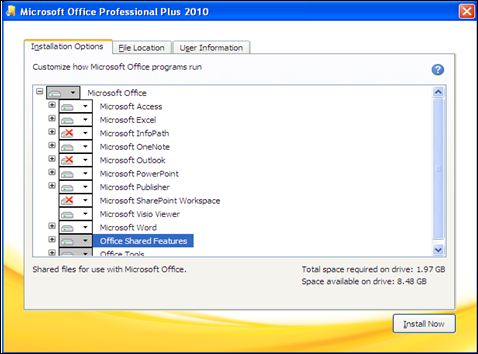
10. On the Installation Options screen, change any installation options deemed appropriate. Click Install Now to begin the installation of Office 2010.
11. When the installation completes, click Close and stop the Office Software Protection Platform service.
12. Once done with configuring and updating Microsoft Office you need to run the ThinApp Post-Setup Capture. Maximize the ThinApp Setup Capture window and click Postscan.
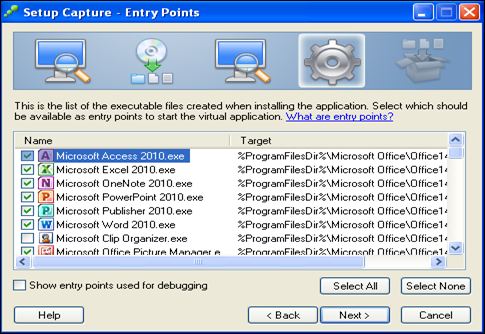
13. On the Setup Capture – Entry Points screen, select the application entry points and click Next. The executables selected here are initially loaded by the package when launched.
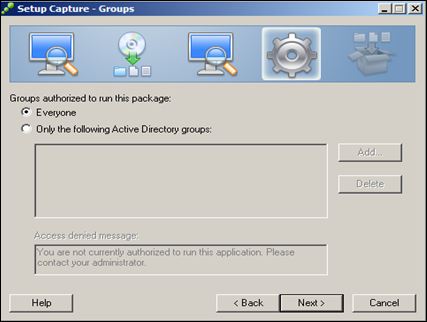
14. On the Setup Capture – Groups screen, select the Groups authorized to use this package. Add Active Directory groups to limit the number of users capable of launching the package and click Next.
15. On the Setup Capture – Isolation screen, select the preferred isolation mode and click Next.

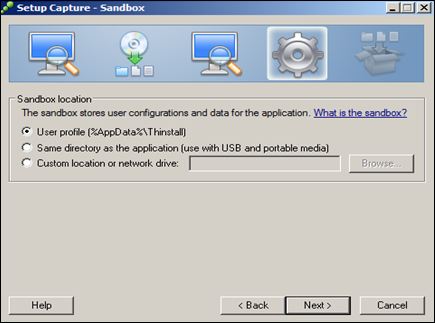
16. On the Setup Capture – Sandbox screen, specify the location of the sandbox and click Next. The Sandbox contains any runtime modifications made by applications while they run.
17. On the Setup Capture – Quality Assurance Statistics screen, select No – Do not send any information to VMware and click Next.
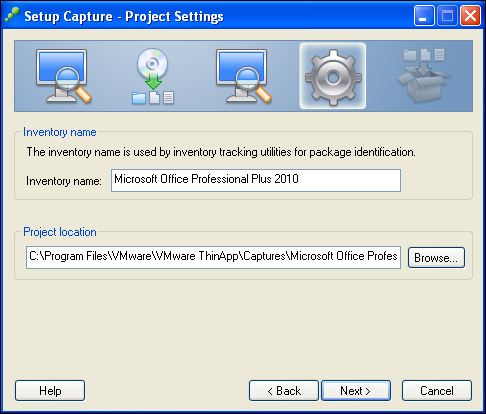
18. On the Setup Capture – Project Settings screen, enter an Inventory name for use in tracking and package identification, a Project location and click Next.
20. On the Setup Capture – Package Settings screen, select the Primary data container, and enable the option Generate MSI package. Click Save to continue.
The primary data container is the main virtual application file that includes the ThinApp runtime, the read-only virtual file system, and the virtual registry.
I usually create an MSI file as it may be preferred in certain situations. For example, MSI files can be used to deliver application packages to desktop groups through View Administrator.

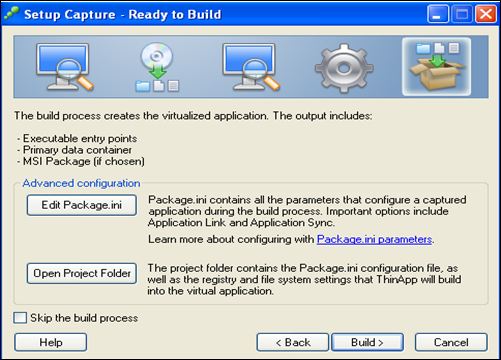
21. On the Setup Capture – Ready to Build screen, click Open Project Folder as Office 2010 requires a couple tweaks to work properly.
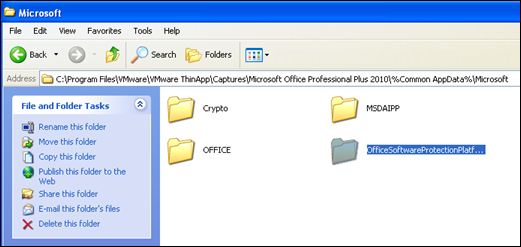
22. In the project directory, move the folder OfficeSoftwareProtectionPlatform from %Drive_C%\Documents and Settings\All Users\Microsoft to %Common AppData%\Microsoft
23. Add the following to the bottom of the HKEY_CURRENT_USER.txt file:
Isolation_writecopy HKEY_CURRENT_USER\Environment
Value=ALLUSERSPROFILE
REG_SZ~%Common AppData%
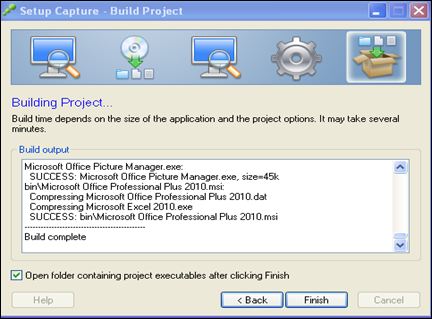
24. Close the explorer window to return to the Setup Capture – Ready to Build screen. Click Build to build the application package.
25. When the setup capture wizard completes, click Finish to complete the build process.
26. Copy the contents of the Capture folder to the network ThinApp repository/share
27. Test on a virtual desktop:
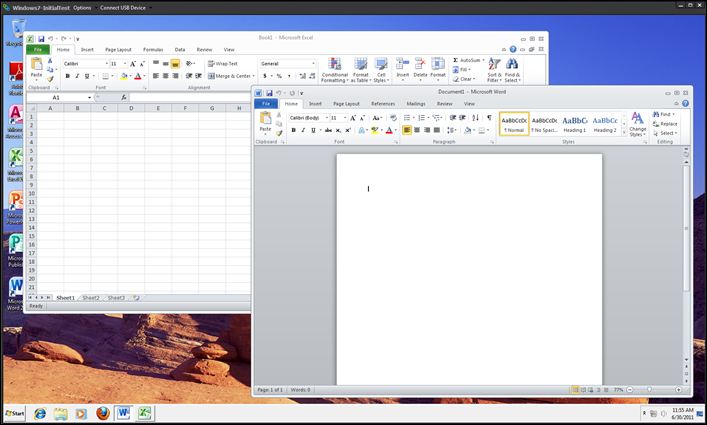

Good job. But you forgot to edit the package.ini when you want to deliver with View Manager. MSIStreaming=1
Greetings