
In Part 1, I mentioned XenServer5 provides support for additional guest operating systems. The slide below, obtained from a Citrix presentation concerning the benefits of XenServer5, lists the guest operating systems now supported by XenServer5 (the new ones being shown in red).

The process can be broken down to four basic steps which include selecting the installation source (typically an ISO file), creating the VM, installing Windows, and then XenServer tools.
The XenServer Tools enables power management capabilities on the VM, installs a guest agent which collects performance data, and the paravirtualized NIC and Storage drivers which provide far greater performance than the default emulated drivers.
With XenServer Tools loaded, a Windows VM can support up to:
-8 vDisks (including the CD-ROM)
-7 vNICs
-8 vCPUs
-32GB RAM on XenServer Enterprise and Standard
-4GB RAM on XenServer Express
To create a new Windows VM:
1. Launch XenCenter and select New VM from the toolbar.

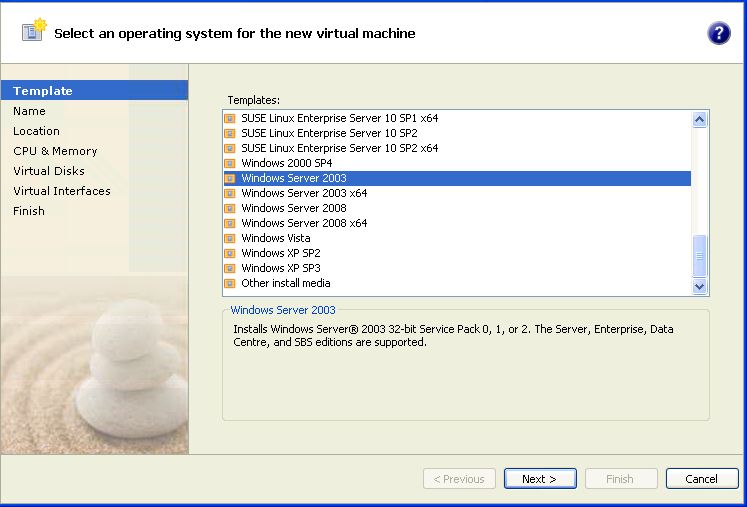
2. The New VM wizard launches and on the Template window, you will be need to select the OS template for the new VM. Select the OS template and click Next to continue. In this example, Windows Server 2003 was used.
3. The Name screen appears, asking for a machine name and description. Click Next to continue.

4. On the Location screen, select installation source (either an ISO or Physical CD device) and click Next.
5. On the CPU & Memoryscreen, specify the number of vCPUs and amount of RAM to assign to the VM and click Next.

6. The Virtual Disks screen appears next, click Add to create a new virtual disk.
7. On the Disk Settings screen, enter the size and location of the new virtual disk and click OK. When returned to the Virtual Disks screen, click Next to continue.

8. On the Virtual Interfaces screen, select the network interface(s) to use in the VM and click Next.

9. When the Finish screen appears, check Start VM Automatically and click Finish.
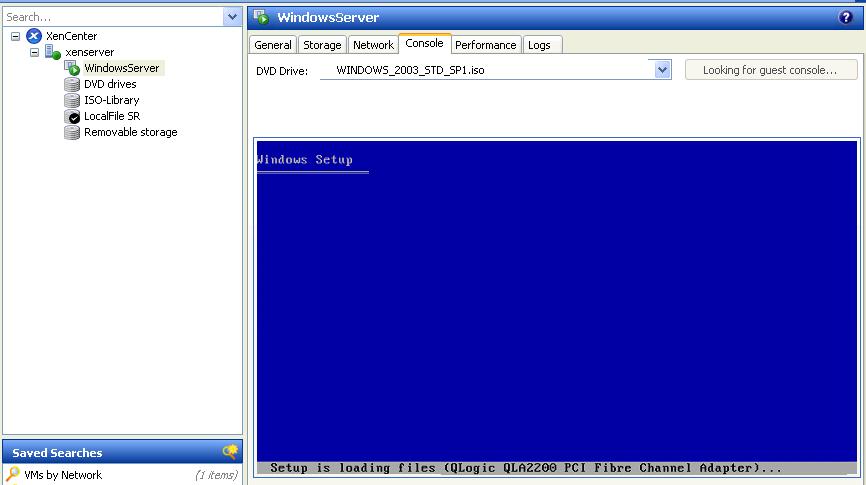
10. Within XenCenter, select the new VM from the left pane file tree and click the Console tab in the right pane. Click into the Console window. Windows setup proceeds to format the virtual disk, copy the installation files, and installs Windows.
11. After the OS loads, right-click the VM in the left pane and click Install XenServer Tools. Reboot the VM when the XenServer Tools installation completes.

You now have a new XenServer Windows VM!
